This is an excerpt from our training manual.
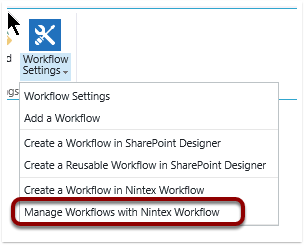
Click the List tab and then click on the down arrow of the Workflow Settings in the menu ribbon.

Click on Manage Workflows with in Nintex Workflow.
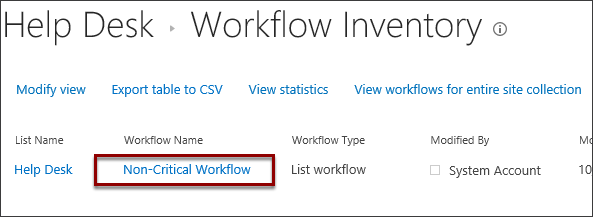
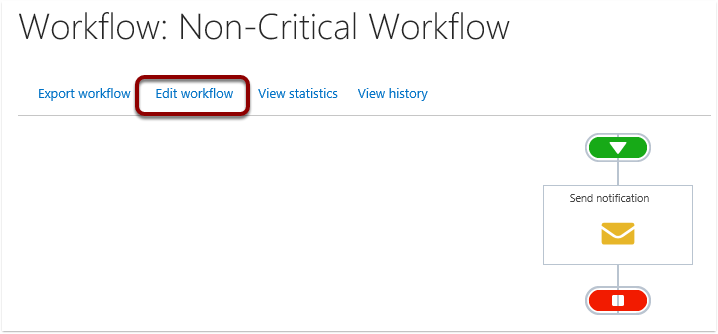
Click on Non-Critical Ticket Workflow to return to the workflow.
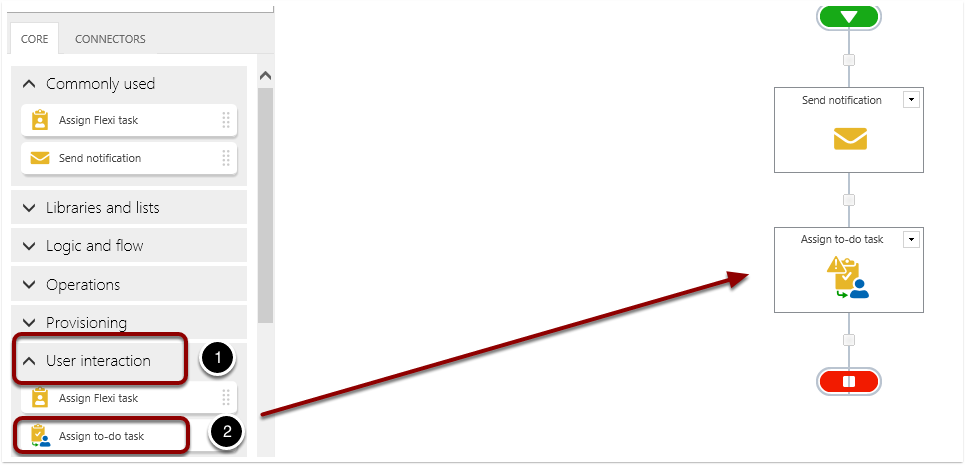
Let’s add a task for the IT Manager to assign the ticket to support personnel. Click on the User Interaction group and then drag the Assign to-do Task workflow action to the drop-zone square following the Send notification.
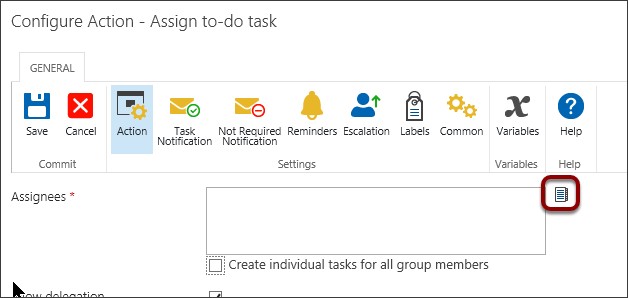
Click on the drop-down arrow in the title row of the workflow action and choose configure.
We want to send the task to the IT Manager that is entered in the form. Select the book icon next to the Assignees field to access an address book.
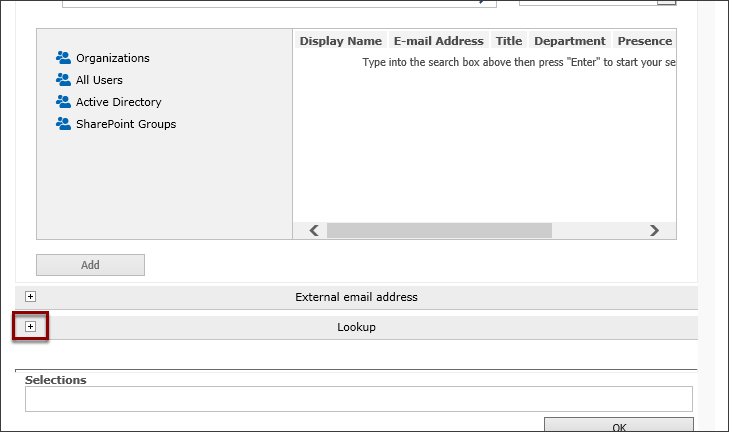
Select plus sign to expand the Lookup section.
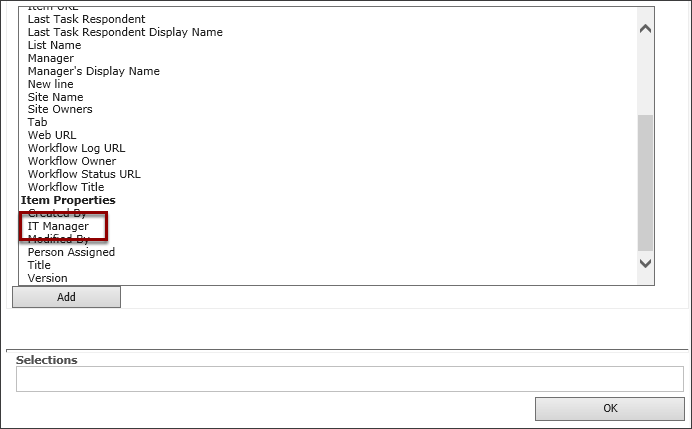
Scroll down and select IT Manager. This will choose the person that created the help desk ticket.
Select Add. This will place the lookup in the Selections box. Click OK.
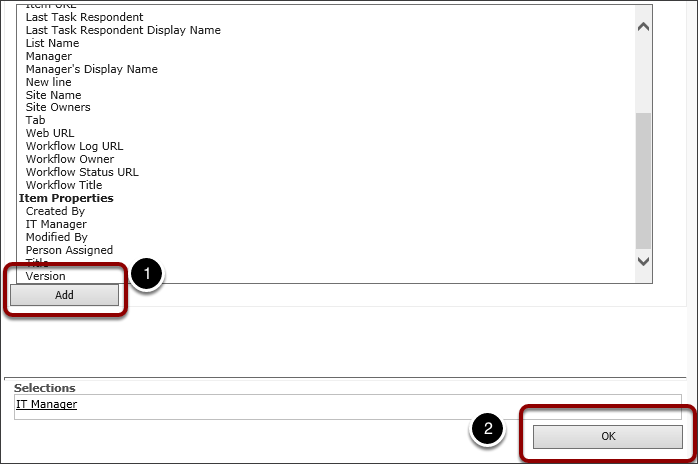
When the workflow runs, the to-do task will go the person in the IT Manager field.
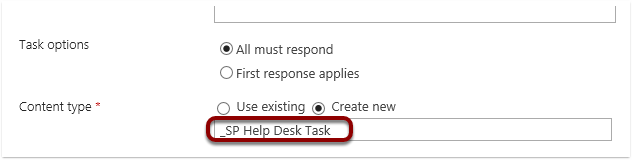
Scroll down and in the Content Type field, enter the text “_SP Help Desk Task” to create a new Content Type.
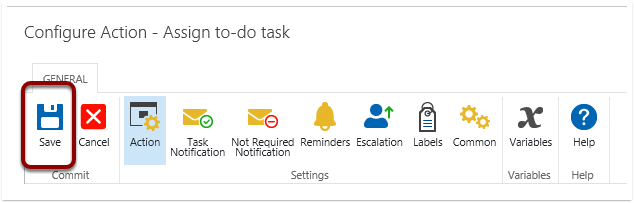
Save the Assign to-do workflow action
Save the workflow. Saving the workflow creates the new Content Type.

Return to the Task to-do workflow action. and click on the drop- down arrow in the title row of the workflow action and choose configure.
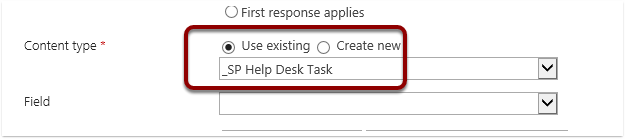
Click the down arrow of the Field.

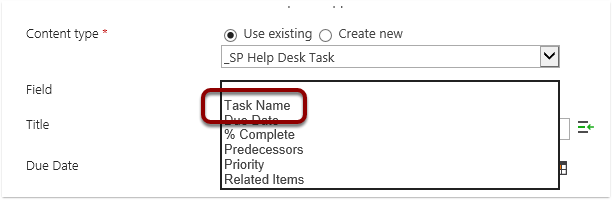
A new line will appear for Task Name.
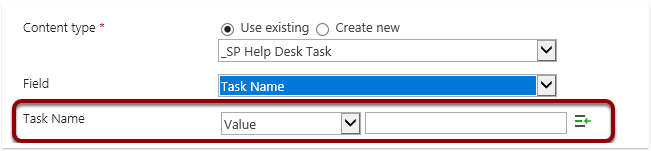
In the Task Name field value, enter the text “Workflow task – “

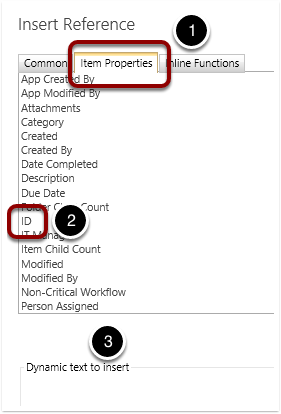
Click in the Task Name field value, after the text “Workflow task -” to place your cursor and then click on the Insert Reference icon to the right.

Click on the Item Properties tab and scroll down and double click on ID. Click OK.

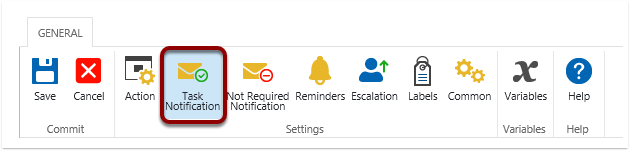
Click the Task Notification icon in the menu ribbon.
In the Subject field, add a space after Response required and then to the right of the Subject field, click on the Insert Reference icon.

Click on the Item Properties tab and scroll down and double-click on ID. Click OK.
![]()
Click the Reminders in the menu ribbon.
Set the number of reminders to 2 and the time between reminders to 5 minutes.
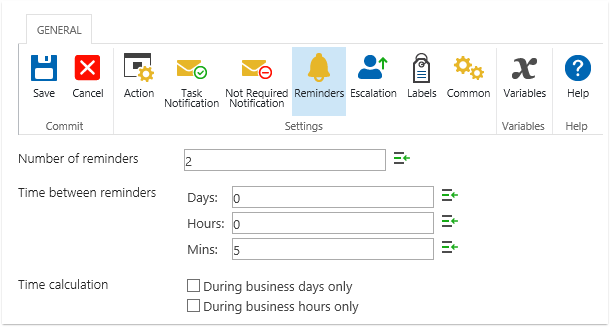
We set the reminder to 5 minutes for testing purposes. Typically, reminders will be
several hours or several days apart
For the subject field, select the book icon (reference icon) to the right.
Click on the Item Properties tab and scroll down and double-click on ID. Click OK. The subject field should look like the following:
![]()
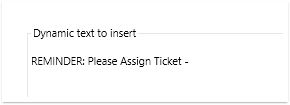
For the box below the Rich Text drop-down, click on the Insert Reference icon to the right.

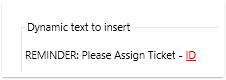
In the Dynamic text to insert box at the bottom, enter the text “REMINDER: Please Assign Ticket – “. Click on the Item Properties tab and scroll down and double-click on ID. Click OK.
Click the GENERAL tab above the menu ribbon and click on Escalation.
For the Escalation drop-down select Delegate Task.
In the Time to escalation enter 1 in the Days box.
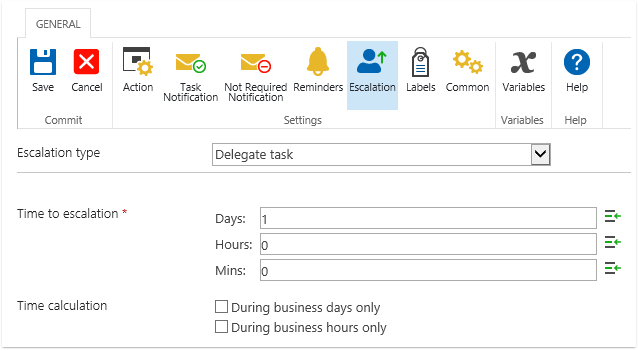
In the Delegate to box enter your login.

- Click Save in the menu ribbon.
- Publish the workflow again, keeping the same name for the workflow title (“Overwrite existing version” should be the defalut). Click OK on the confirmation dialogue box.
- Click Close in the menu ribbon to close the worklfow designer and return to the Help Desk app.
- When the To-Do workflow action runs and sends a notification to the manager, the manager will be given a task.
- The manager opens the ticket to assign the ticket.
- Manager will then need to go to the e-mail notification and clickthe task link to go to the task and to mark the workflow to-do taskcomplete.
- Test the workflow process.
- Go to the List Settings of the Help Desk list and make the IT Manager field a required field and then return to the Help Desk to enter a new ticket.
- Create a new ticket in the list with the Ticket Type Non-Critical and your login in the IT Manager field.
- The workflow should start automatically. To verify you received the e-mail notification as the IT Manager, open the e-mail that was sent for the task assignment.
- In the e-mail, click the Click here to respond to the task link. Typically, when the manager receives this task via e-mail, he/she will
- needto open the ticket and assign the ticket prior to the next step of marking thetask complete.
- Click SHOW MORE to expand the task to see all the fields. If you wait longer than the reminder (5 minutes), you will receive a seconde- mail that is a reminder to complete the task.
- Mark the task status Completed and click Save.
- Click on Help Desk in the Quick Launch to return to the Help Desk.